Jupyter Hub on SciNet
Jump to navigation
Jump to search
Disclaimer: the following describes is an experimental setup at SciNet running on good, but out-of-warrantee hardware.*
- Two jupyterhub servers, each with 128 GB of memory and 16 cores.
- Access using an ssh tunnel via login.scinet.utoronto.ca:
$ ssh USER@login.scinet.utoronto.ca -L8888:jupyterhub:8000 -N -f
- This will select (round-robin) one of the two jupyterhub servers.
- Point your browser to 'localhost:8888' and log in with your SciNet account.
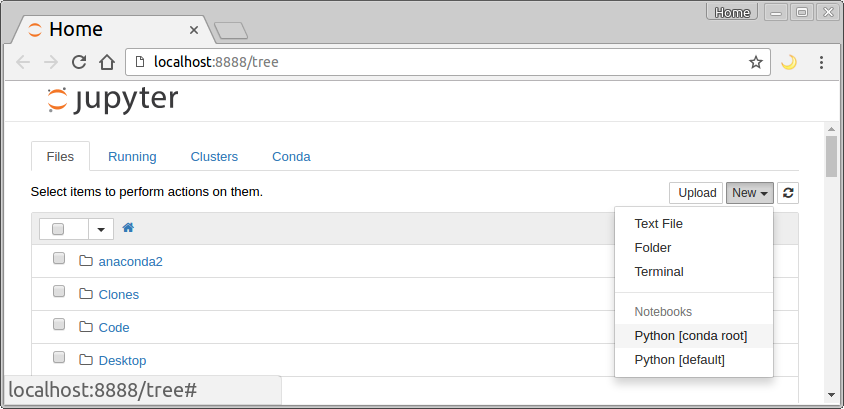
- The browser should now show the files in your $HOME on SciNet. (If not, try reloading the page, it may have timed out).
- You can open or create Python 2, Python 3, and R notebooks.
- Large number of python packages preinstalled.
Tips to get started
- Jupyter can also browse your (SciNet) files and edit them.
- Use the 'new' button to create a new python notebook.
- Give your notebooks reasonable names.
- To execute a python input line, press `Shift-Enter`.
- Save your work periodically (even though there is autosave).
- To work similarly to `ipython --pylab`, do:
In [1]: from pylab import *
        %matplotlib notebook
Advantages and Disadvantages of a Notebook Environment
Drawbacks:
- Notebook files (.ipynb) are not scripts.
- Does not (always) work well with version control.
- Designed to run in browser.
- Graphics is inline, which is great for quick exploration but make tweaking a plot harder (IPython+X works better for this).
- You can jump around in the notebook, and execute different parts: hard to keep track of what you did.
Advantages:
- You can jump around in the notebook, and execute different parts: Easier exploration, experimentation and debugging.
- Auto-save
- You can rerun parts of your code (while, e.g., keeping large data in memory)
- You can add text portions, making your notebook more like an article.
- Which in turn can be useful for sharing, demos, teaching, ...
- You can still export as a script.
- Also has a terminal.
