IPython Notebook on GPC
IPython Notebook
- With the IPython Notebook, it is possible to interface IPython through modern browsers.
- It is even possible to have IPython run on the GPC cluster, with the IPython Notebook interface running within your local browser.
- This can be quite useful for quick exploration or manipulation of data stored at SciNet.
Remote Setup of the IPython Notebook
- Server on a GPC node: will do all the work. Communicates through a 'port'.
- Client is your browser on your local machine: will show results, graphics, allow notebooks to be saved etc. Communicates through a port.
- Because GPC is not reachable from the outside, will need to 'forward' the port from login.scinet.utoronto.ca to the GPC node.
Modules to load on the GPC node
Works with Python 2.7.3 and 2.7.5 as installed on GPC.
Will demonstrate the newer version.
- Fairly new compilers used for python 2.7.5:
<source lang="bash"> module load gcc/4.8.1 intel/13.1.1 </source>
- Most recent python version on the GPC
<source lang="bash"> module load python/2.7.5</source>
- Recent version of mpi, optional
<source lang="bash"> module load openmpi/intel/1.6.4</source>
Starting the server
- Choose a port. To make it unique, base it on your user id. Recommended:
<source lang="bash">
   let ipnport=($UID-6025)%65274
   echo ipnport=$ipnport
</source>
- Determine the IP address of the GPC node
<source lang="bash">
   ipnip=$(hostname -i)
   echo ipnip=$ipnip
</source>
- Start the IPython Notebook
<source lang="bash">
ipython notebook --ip=$ipnip --port=$ipnport --no-browser
</source>
Set up port forwarding from local machine
- Choose a port on the local machine, e.g. 8888
- Make sure you have the ipnport and ipnip written down from the server.
- In a local terminal, create an ssh session solely for forwarding this port to the ipython notebook server:
<source lang="bash"> ssh -N USER@login.scinet.utoronto.ca -L8888:$ipnip:$ipnport</source>
Connecting to server from local browser
- Open your browser
- Point to the URL localhost:8888
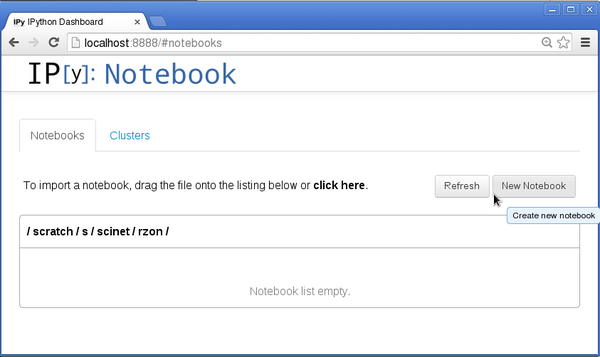
- You can now create new notebooks or load existing ones
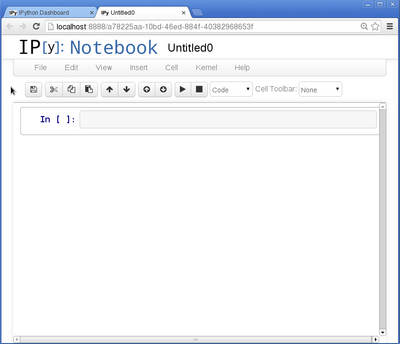
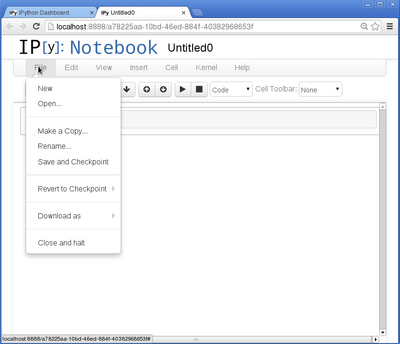
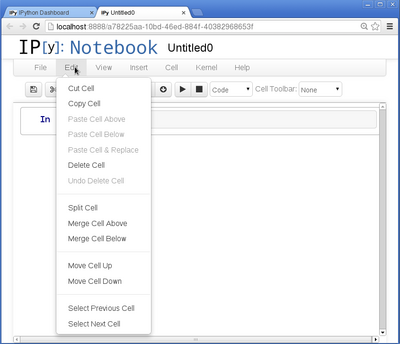
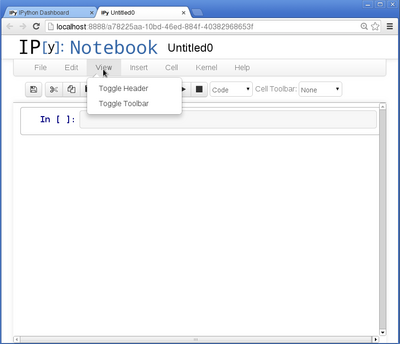
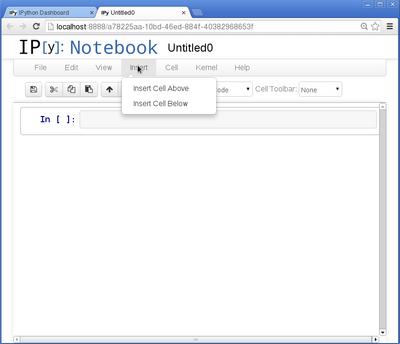
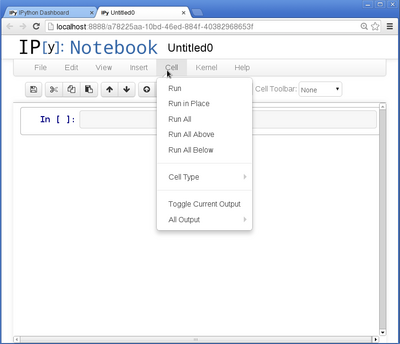
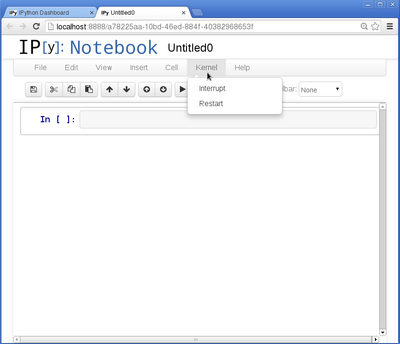
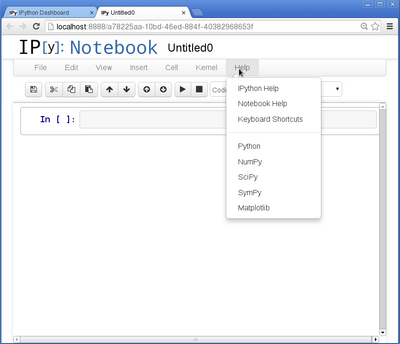
Notebook Menu
|
|
|
|
|
|
|
|
Security
- Any user on your local machine could connect to your notebook.
- Not very secure.
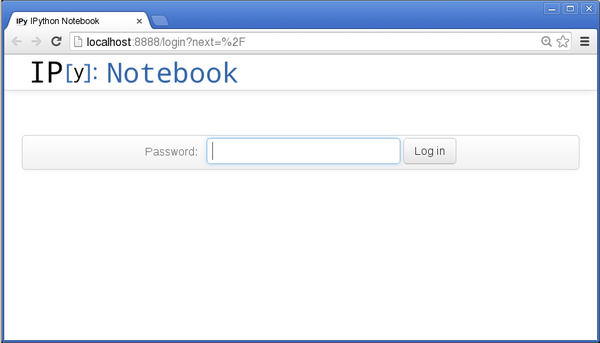
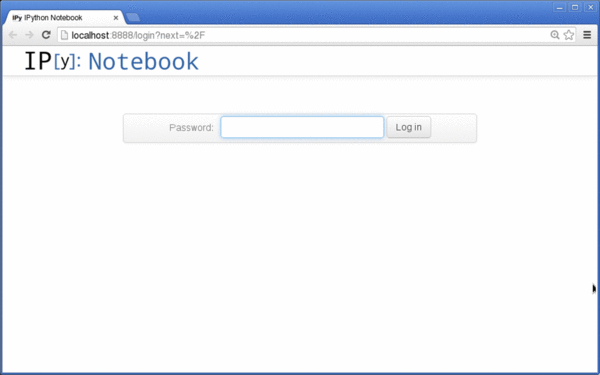
- Would like to add a password to be verified when connecting.
- To add a password, we need to create a profile.
- Profiles come in handy for other features too.
Setting up a password
On the GPC:
- First, create a profile
<source lang="bash">
ipython profile create default
</source>
- Then, create the hashed password:
<source lang="bash">
python -c "from IPython.lib import passwd;print passwd();"
</source>
- After entering your password 2x, this will print a hashed password like:
sha1:670c2389cfb3:64659440429f32fc2660dd1aaaaf1ac20c4d6a18
- Append the following line to the configuration file $IPYTHON_DIR/profile_default/ipython_notebook_config.py:
c.NotebookApp.password = u'HASHPASSWD'
with HASHPASSWD replaced by the hashed password.
Peace of mind:
In your local browser:
Usage Example
(Click picture)
Parallel Processing
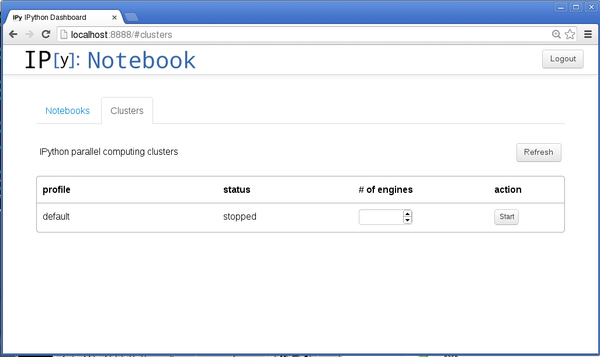
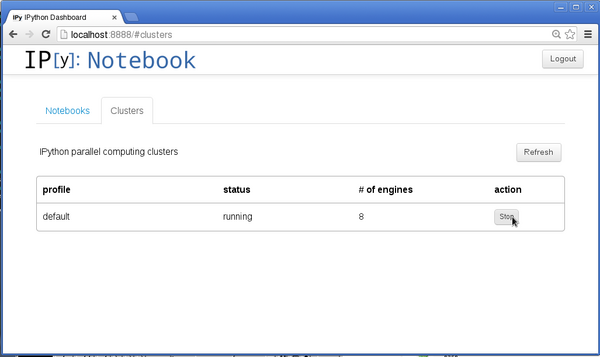
- You may have notices the 'Cluster' tab in the IPython notebook.
- You can launch in that tab.
- Select the number of engines, and click on 'Start'
- All these engines interface with the notebook through a .
- Interface with this hub using the IPython.parallel module.
- You may have notices the 'Cluster' tab in the IPython notebook.
- You can launch in that tab.
- Select the number of engines, and click on 'Start'
- All these engines interface with the notebook through a .
- Interface with this hub using the IPython.parallel module.
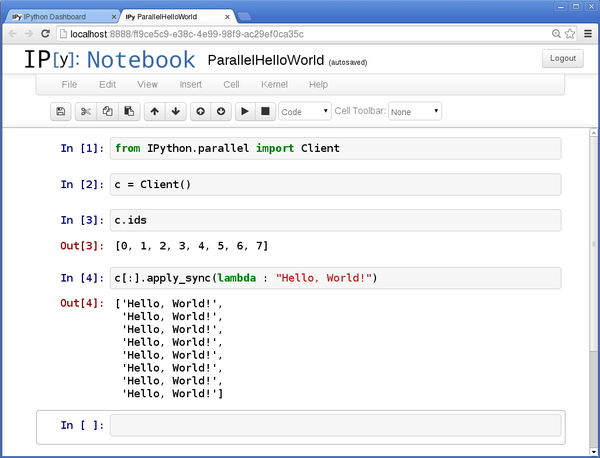
IPython.parallel: Hello world
MPI in the IPython notebook
- Set up an mpi profile:
<source lang="bash"> python profile create --parallel --profile=mpi</source>
- Edit $IPYTHON_DIR/profile_mpi/ipcluster_config.py and add:
<source lang="bash"> c.IPClusterEngines.engine_launcher_class = 'MPIEngineSetLauncher'</source>
- Edit $IPYTHON_DIR/profile_mpi/ipengine_config.py, adding:
<source lang="bash"> c.MPI.use = 'mpi4py'</source>
- Edit $IPYTHON_DIR/profile_mpi/ipcontroller_config.py, adding:
<source lang="bash"> c.HubFactory.ip = '*'</source>
- Edit $IPYTHON_DIR/profile_mpi/ipython_notebook_config.py to add password.
Using the mpi profile
- Launch ipython notebook on the GPC as
<source lang="bash"> python notebook --profile=mpi --ip=$ipnhost --port=$ipnport --no-browser</source>
- In browser, go to localhost:8888
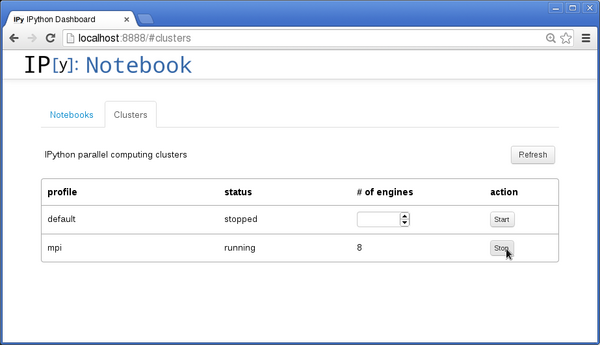
- Go to the Cluster tab and start a number of mpi engines.
- Can then use mpi4py
Example using MPI4PY
(Click picture)
Some IPython Parallel Features
Master-slave approach: interactive only on the master.
- Direct interface to engines
- Can have a file run on an engine;
- Or a piece of python code;
- Or a function.
LoadBalanced interface
Scheduler assigns work. Can have dependencies.
Can execute task asynchronously.
Can push and pull variables.
Can map an array over engines.
Can use Mpi4py support.
Just import mpi4py and run a piece of mpi python code.
Magic commands ('%px', '%pxresult')
Parallel function decorators (@...remote, @...parallel).

